Visual Embedder
Learn how to train a visual embedding model using Clarifai Python SDK
Visual embedder models are neural network architectures specifically designed to transform high-dimensional visual data, such as images or videos, into low-dimensional representations, called embeddings. You can learn more about Visual Embedder here.
App Creation
The first part of model training includes the creation of an app under which the training process takes place. Here we are creating an app with the app id as “demo_train” and the base workflow is set as “Universal”. You can change the base workflows to Empty, Universal, Language Understanding, and General according to your use case.
- Python
from clarifai.client.user import User
#replace your "user_id"
client = User(user_id="user_id")
app = client.create_app(app_id="demo_train", base_workflow="Universal")
Dataset Upload
The next step involves dataset upload. You can upload the dataset to your app so that the model accepts the data directly from the platform. The data used for training in this tutorial is available in the examples repository you have cloned.
- Python
#importing load_module_dataloader for calling the dataloader object in dataset.py in the local data folder
from clarifai.datasets.upload.utils import load_module_dataloader
# Construct the path to the dataset folder
module_path = os.path.join(os.getcwd().split('/models/model_train')[0],'datasets/upload/image_classification/food-101')
# Load the dataloader module using the provided function from your module
food101_dataloader = load_module_dataloader(module_path)
# Create a Clarifai dataset with the specified dataset_id
dataset = app.create_dataset(dataset_id="image_dataset")
# Upload the dataset using the provided dataloader and get the upload status
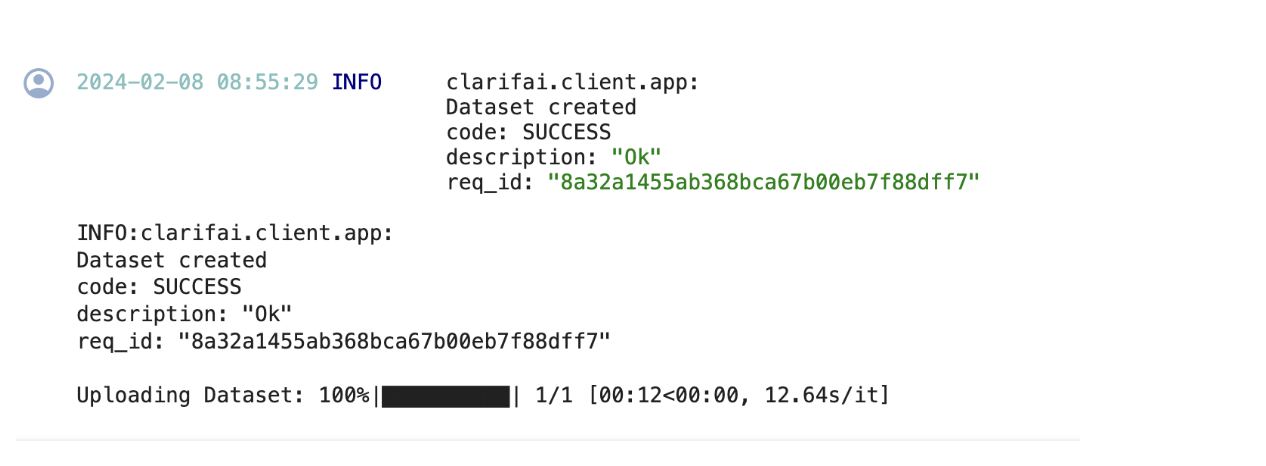
dataset.upload_dataset(dataloader=food101_dataloader,get_upload_status=True)
If you have followed the steps correctly you should receive an output that looks like this,
Output
Choose The Model Type
First let's list the all available trainable model types in the platform,
- Python
print(app.list_trainable_model_types())
Output
['visual-classifier',
 'visual-detector',
 'visual-segmenter',
 'visual-embedder',
 'clusterer',
 'text-classifier',
 'embedding-classifier',
 'text-to-text']
Click here to know more about Clarifai Model Types.
Model Creation
From the above list of model types we are going to choose visual-embedder as it is similar to our use case. Now let's create a model with the above model type.
- Python
MODEL_ID = "model_visual_embedder"
MODEL_TYPE_ID = "visual-embedder"

# Create a model by passing the model name and model type as parameter
model = app.create_model(model_id=MODEL_ID, model_type_id=MODEL_TYPE_ID)
Output

Template Selection
Inside the Clarifiai platform there is a template feature. Templates give you the control to choose the specific architecture used by your neural network, as well as define a set of hyperparameters you can use to fine-tune the way your model learns. We are going to choose the 'Clarifai_ResNext' template for training our model.
- Python
print(model.list_training_templates())
Output
['classification_angular_margin_embed',
 'classification_basemodel_v1_embed',
 'Clarifai_ResNet_AngularMargin',
 'Clarifai_InceptionBatchNorm',
 'Clarifai_ResNext']
Setup Model Parameters
You can update the model params to your need before initiating training.
- Python
# Get the params for the selected template
model_params = model.get_params(template='Clarifai_ResNext')
# list the concepts to add in the params
concepts = [concept.id for concept in app.list_concepts()]
model.update_params(dataset_id = 'image_dataset',concepts = concepts)
print(model.training_params)
Output
{'dataset_id': 'image_dataset',
 'dataset_version_id': '',
 'concepts': ['id-hamburger', 'id-ramen', 'id-prime_rib', 'id-beignets'],
 'train_params': {'invalid_data_tolerance_percent': 5.0,
  'template': 'Clarifai_ResNext',
  'logreg': 1.0,
  'image_size': 256.0,
  'batch_size': 64.0,
  'init_epochs': 25.0,
  'step_epochs': 7.0,
  'num_epochs': 65.0,
  'per_item_lrate': 7.8125e-05,
  'num_items_per_epoch': 0.0}}
Initiate Model Training
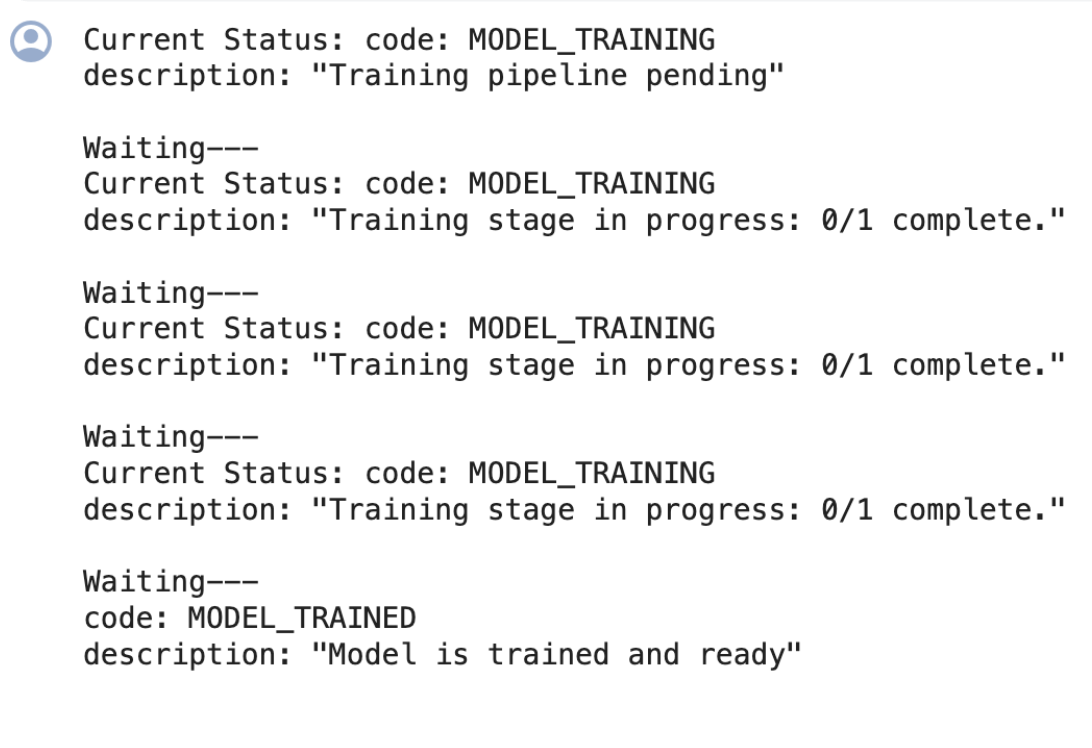
We can initiate the model training by calling the model.train() method. The Clarifai Python SDK also offers features like showing training status and saving training logs in a local file.
If the status code is 'MODEL-TRAINED', then the user can know the Model is Trained and ready to use.
- Python
import time
#Starting the training
model_version_id = model.train()

#Checking the status of training
while True:
    status = model.training_status(version_id=model_version_id,training_logs=False)
    if status.code == 21106: #MODEL_TRAINING_FAILED
        print(status)
        break
    elif status.code == 21100: #MODEL_TRAINED
        print(status)
        break
    else:
        print("Current Status:",status)
        print("Waiting---")
        time.sleep(120)
Output
Model Prediction
Since the model is trained and ready let’s run some predictions to view the model performance,
- Python
IMAGE_PATH = os.path.join(os.getcwd().split('/models')[0],'datasets/upload/image_classification/food-101/images/hamburger/139558.jpg')
model_prediction = model.predict_by_filepath(IMAGE_PATH, input_type="image")

# Get the output
print(model_prediction.outputs[0].data.embeddings)
Output
embeddings {

  vector: 0.021010370925068855

  vector: 0.011909130029380322

  vector: 2.2577569325221702e-07

  vector: 0.001307532424107194

  vector: 0.04247743636369705

  vector: 0.01022490207105875

  vector: 0.0006444881437346339

  vector: 0.027988344430923462

  vector: 0.028407510370016098

  vector: 5.129506917000981e-06

  vector: 0.03279731422662735

  vector: 0.016899824142456055

  vector: 0.003125722287222743

  vector: 0.0

  vector: 0.024156155064702034

  vector: 0.04975743591785431

  vector: 0.010608416981995106

  vector: 0.0006941271130926907

  vector: 0.00018513976829126477

  vector: 2.714529364311602e-05

  vector: 0.0014789806446060538

……..

}