Visual Segmenter
Learn how to train a visual segmenter model using Clarifai Python SDK
A visual segmenter model is used in computer vision to partition images or videos into distinct regions or objects. Through sophisticated techniques like pixel-based analysis, region grouping, edge detection, or deep learning, a visual segmenter can identify boundaries and patterns within visual data, effectively dividing the image into meaningful segments. You can learn more about Visual Segmenter here.
App Creation
The first part of model training includes the creation of an app under which the training process takes place. Here we are creating an app with the app id as “demo_train” and the base workflow is set as “Universal”. You can change the base workflows to Empty, Universal, Language Understanding, and General according to your use case.
- Python
from clarifai.client.user import User
#replace your "user_id"
client = User(user_id="user_id")
app = client.create_app(app_id="demo_train", base_workflow="Universal")
Dataset Upload
The next step involves dataset upload. You can upload the dataset to your app so that the model accepts the data directly from the platform. The data used for training in this tutorial is available in the examples repository you have cloned.
- Python
#importing load_module_dataloader for calling the dataloader object in dataset.py in the local data folder
from clarifai.datasets.upload.utils import load_module_dataloader


# Construct the path to the dataset folder
module_path = os.path.join(os.getcwd().split('/models/model_train')[0],'datasets/upload/image_segmentation/coco')


# Load the dataloader module using the provided function from your module
coco_dataloader = load_module_dataloader(module_path)

# Create a Clarifai dataset with the specified dataset_id ("image_dataset")
dataset = app.create_dataset(dataset_id="segmentation_dataset")

# Upload the dataset using the provided dataloader and get the upload status
dataset.upload_dataset(dataloader=coco_dataloader)
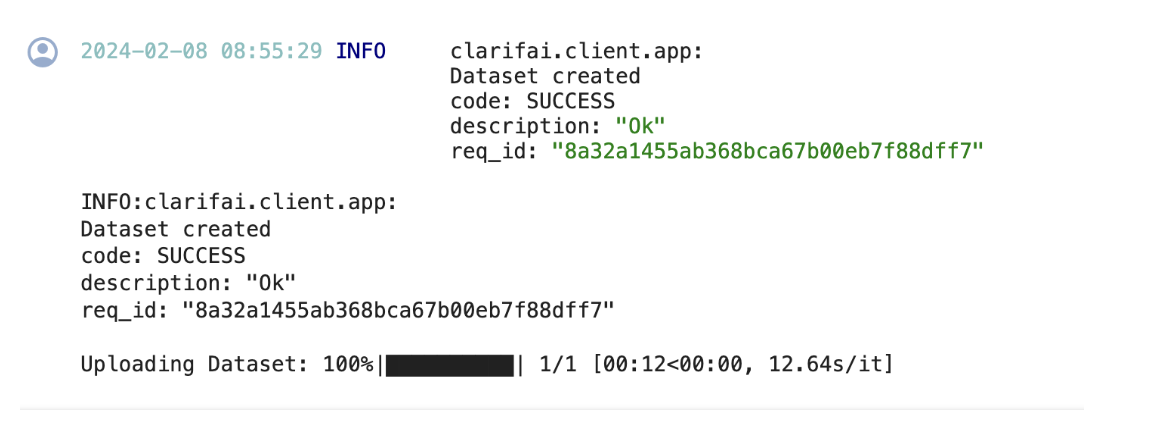
If you have followed the steps correctly you should receive an output that looks like this,
Output
Choose The Model Type
First let's list the all available trainable model types in the platform,
- Python
print(app.list_trainable_model_types())
Output
['visual-classifier',
 'visual-detector',
 'visual-segmenter',
 'visual-embedder',
 'clusterer',
 'text-classifier',
 'embedding-classifier',
 'text-to-text']
Click here to know more about Clarifai Model Types.
Model Creation
From the above list of model types we are going to choose visual-segmenter as it is similar to our use case. Now let's create a model with the above model type.
- Python
MODEL_ID = "segmenter"
MODEL_TYPE_ID = "visual-segmenter"
# Create a model by passing the model name and model type as parameter
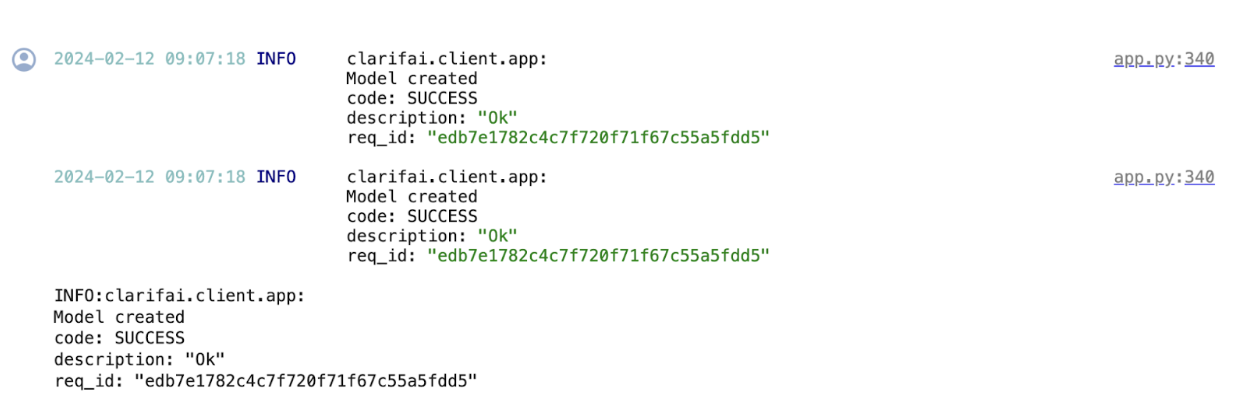
model = app.create_model(model_id=MODEL_ID, model_type_id=MODEL_TYPE_ID)
Output
Template Selection
Inside the Clarifiai platform there is a template feature. Templates give you the control to choose the specific architecture used by your neural network, as well as define a set of hyperparameters you can use to fine-tune the way your model learns. We are going to choose the 'MMSegmentation_SegFormer' template for training our model.
- Python
print(model.list_training_templates())
Output
['MMSegmentation', 'MMSegmentation_SegFormer']
Setup Model Parameters
You can save the model parameters into a YAML file so that it can passed on to the model while initiating training.
- Python
import yaml
YAML_FILE = 'model_params.yaml'
model_params = model.get_params(template='MMSegmentation_SegFormer',save_to=YAML_FILE)
# Preview YAML content
file = open(YAML_FILE)
data = yaml.safe_load(file)
print(data)
Output
{'dataset_id': '',
 'dataset_version_id': '',
 'concepts': [],
 'train_params': {'invalid_data_tolerance_percent': 5.0,
  'template': 'MMSegmentation_SegFormer',
  'image_size': [520.0],
  'batch_size': 2.0,
  'num_epochs': 1.0,
  'per_item_lrate': 7.5e-06,
  'pretrained_weights': 'ade20k'}}
- Python
# List the concept
concepts = [concept.id for concept in app.list_concepts()]
print(concepts)
Output
['id-chair',
 'id-cup',
 'id-couch',
 'id-baseballbat',
 'id-kite',
 'id-person',
 'id-elephant',
 'id-cellphone',
 'id-handbag',
 'id-cat',
 'id-toilet',
 'id-laptop',
 'id-diningtable',
 'id-keyboard',
 'id-mouse',
 'id-oven',
 'id-pizza',
 'id-clock']
- Python
#creating dataset version
dataset_version = dataset.create_version()
dataset_version_id = dataset_version.version.id

#update params
model.update_params(dataset_id = 'segmentation_dataset', dataset_version_id=dataset_version_id,concepts = concepts, num_epochs = 5)
Output
{'dataset_id': 'segmentation_dataset',
 'dataset_version_id': '43cdc090797c41f19bb420ab6e4baf0c',
 'concepts': ['id-chair',
  'id-cup',
  'id-couch',
  'id-baseballbat',
  'id-kite',
  'id-person',
  'id-elephant',
  'id-cellphone',
  'id-handbag',
  'id-cat',
  'id-toilet',
  'id-laptop',
  'id-diningtable',
  'id-keyboard',
  'id-mouse',
  'id-oven',
  'id-pizza',
  'id-clock'],
 'train_params': {'invalid_data_tolerance_percent': 5.0,
  'template': 'MMSegmentation_SegFormer',
  'image_size': [520.0],
  'batch_size': 2.0,
  'num_epochs': 5,
  'per_item_lrate': 7.5e-06,
  'pretrained_weights': 'ade20k'}}
Initiate Model Training
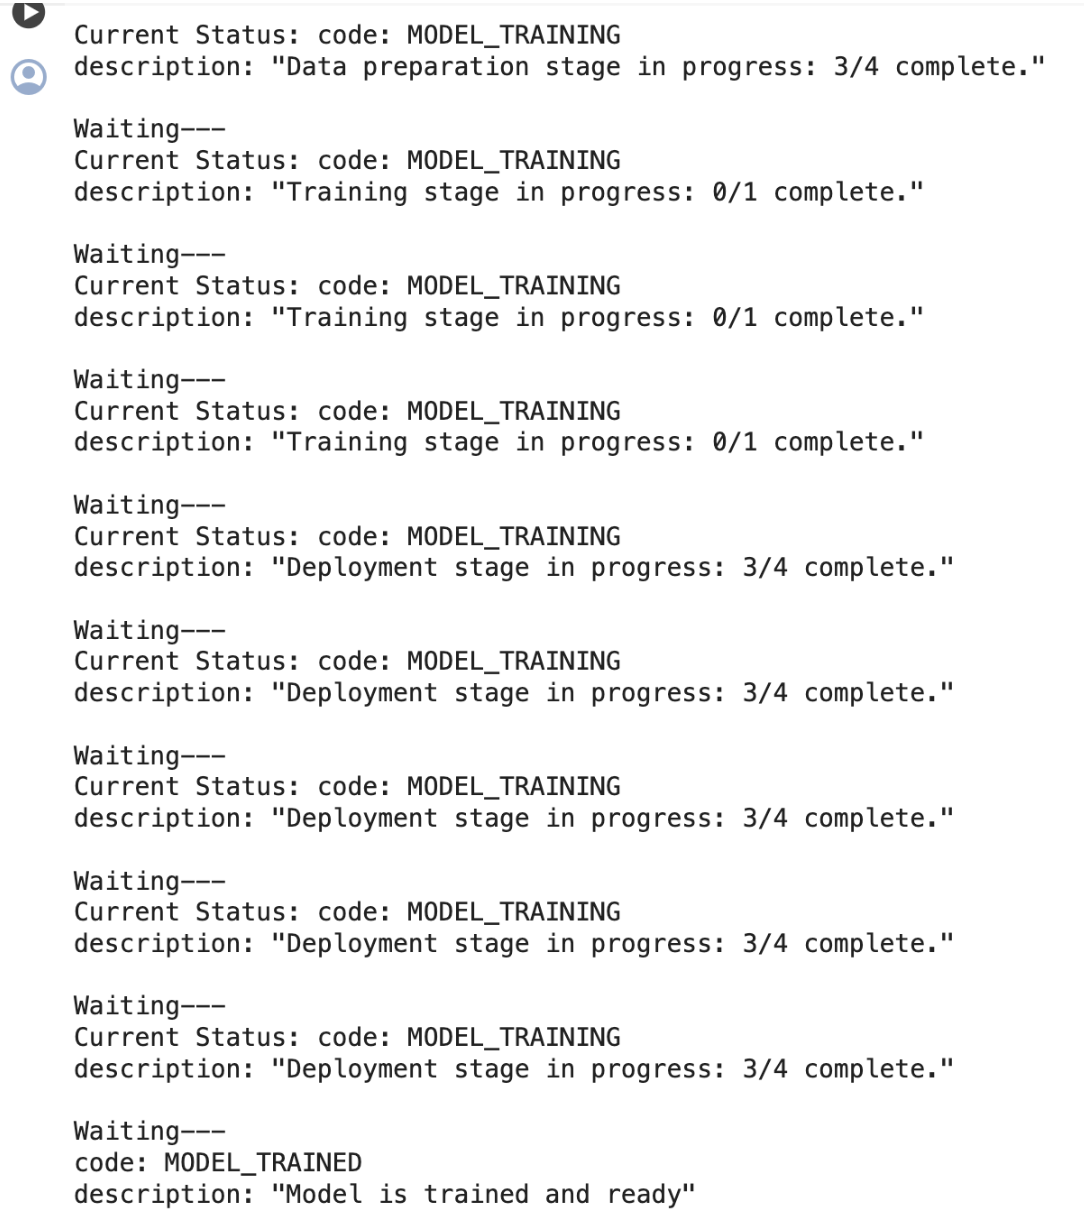
We can initiate the model training by calling the model.train() method. The Clarifai Python SDK also offers features like showing training status and saving training logs in a local file.
If the status code is 'MODEL-TRAINED', then the user can know the Model is Trained and ready to use.
- Python
import time
#Starting the training
model_version_id = model.train()

#Checking the status of training
while True:
    status = model.training_status(version_id=model_version_id,training_logs=False)
    if status.code == 21106: #MODEL_TRAINING_FAILED
        print(status)
        break
    elif status.code == 21100: #MODEL_TRAINED
        print(status)
        break
    else:
        print("Current Status:",status)
        print("Waiting---")
        time.sleep(120)
Output
Model Prediction
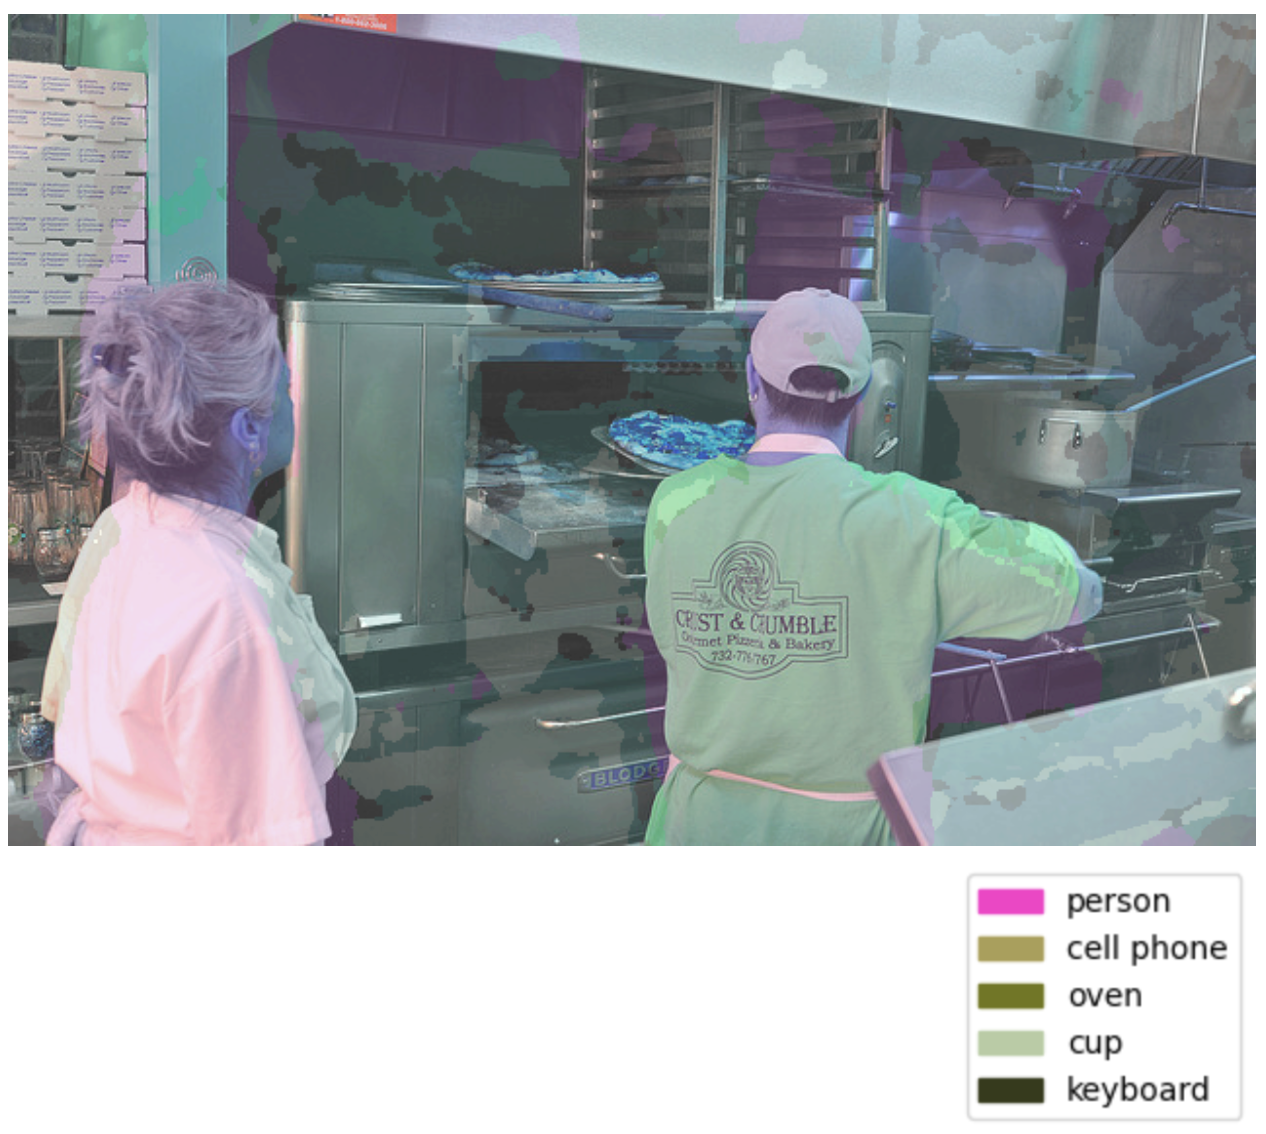
Since the model is trained and ready let’s run some predictions to view the model performance,
- Python
# Display the predicted masks
import cv2
from urllib.request import urlopen
import numpy as np
from PIL import Image as PILImage
from io import BytesIO
import random
import matplotlib.pyplot as plt
import matplotlib.patches as mpatches
from google.colab.patches import cv2_imshow

IMAGE_PATH = os.path.join(os.getcwd().split('/models')[0],'datasets/upload/image_segmentation/coco/images/000000424349.jpg')

prediction_response = model.predict_by_filepath(IMAGE_PATH, input_type="image")

# Get the output
regions = prediction_response.outputs[0].data.regions

img = cv2.imread(IMAGE_PATH)
img=cv2.cvtColor(img,cv2.COLOR_BGR2RGB)
masks = []
concepts = []
for region in regions:
    if region.data.concepts[0].value > 0.05:
        masks.append(np.array(PILImage.open(BytesIO(region.region_info.mask.image.base64))))
        concepts.append(region.data.concepts[0].name)


# Generate random colors
colors = []
for i in range(len(masks)):
    r = random.randint(0,255)
    g = random.randint(0,255)
    b = random.randint(0,255)
    colors.append((b,g,r))

# Map masks to overlays
overlays = []
for i in range(len(masks)):
    mask = masks[i]
    color = colors[i]

    overlay = np.zeros_like(img)
    overlay[mask > 0] = color
    overlays.append(overlay)

# Overlay masks on original image
overlayed = np.copy(img)

for overlay in overlays:
  # Apply alpha blending
  cv2.addWeighted(overlay, 0.15, overlayed, 0.85, 0, overlayed)

overlayed = cv2.convertScaleAbs(overlayed, alpha=1.5, beta=50)


# Display overlayed image
img = overlayed
# for displaying in google colab or else use cv2.imshow()
cv2_imshow(img)

# Create legend with colors and concepts
legend_items = []
for i in range(len(overlays)):
    color = [c/255 for c in colors[i]]
    concept = concepts[i]
    legend_items.append(mpatches.Patch(color=color, label=concept))

plt.legend(handles=legend_items, loc='lower left', bbox_to_anchor=(1.05, 0))
plt.axis('off')
plt.show()
The performance of the model can be further improved by training it for more number of epochs
Image Output